- Published on
Daz Studio Meets AI
- Authors

- Name
- MIKAN
AI-Powered Post-Processing
Create hyper-realistic images with AI-powered post-processing! This method is also excellent for generating compositions that are challenging to draw manually, making it a valuable skill to learn.
Here is the basic workflow:
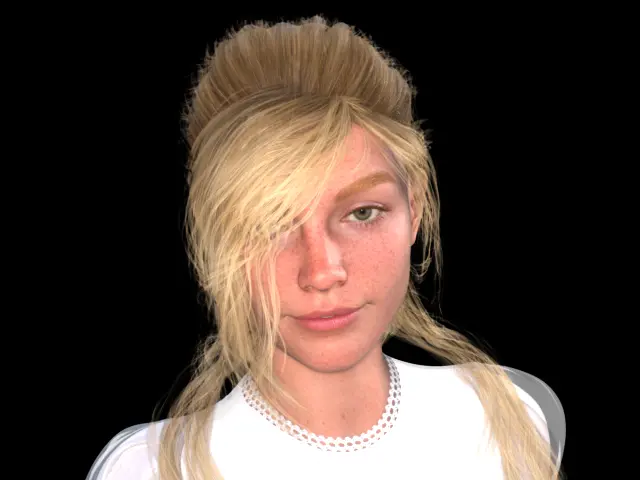
- Render the 3D CG.
- (Optional) Composite a background image.
- Use img2img to enhance realism.
While ControlNet can be used, this guide focuses on the simpler img2img approach.
Preparation
Prepare a local environment for running Stable Diffusion. For this guide, we recommend using Stable Diffusion Web UI since we will use img2img. Alternatively, ComfyUI also works.
You can use any model, but CyberRealistic or epiCRealism are highly recommended. If you have ample memory, opt for the SDXL versions of these models.
Set up your environment until you can generate images. Detailed instructions are omitted here.
Rendering 3D CG
Render the 3D CG as you normally would. During this step, you don’t need to fine-tune textures or materials, as AI will handle the post-processing. However, you should align poses and colors to your vision.
If you want to include structures that AI struggles to produce, ensure they are well-rendered here. Examples include:
- Objects not included in AI training data
- Lesser-known landmarks or facilities
- Objects interacting with characters
- Unique conditions such as partially damaged structures
For other backgrounds or scenes, detailed preparation is unnecessary, as the next step covers them.
Once ready, render the scene roughly.

(Optional) Background Composition
If no background scene was created, the rendered background should default to transparent. Use this to composite a background image.
Find an appropriate image from your collection or a stock photo site, and combine it with Photoshop or similar software. At this stage, it doesn’t need to blend perfectly—AI will handle the merging.
Enhancing Realism with img2img
This is the final step. Here, AI will regenerate the image for hyper-realism.
Open the img2img tab in the WebUI and drop the rendered image into the left panel.
Leave the Positive and Negative prompts empty and adjust the denoising strength to 0.4–0.5. Denoising strength determines the degree of change, with higher values resulting in greater alterations.

Click Generate! Experiment with different seeds until you achieve the desired result.
Your hyper-realistic image is now complete, preserving the original atmosphere while adding stunning detail.
