- Published on
Using HDRI Images to Control Scenes in Daz Studio
- Authors

- Name
- MIKAN
What is HDRI?
HDRI stands for High Dynamic Range Image, a type of image with a higher dynamic range than standard formats. These images are often stored in file formats like .hdr or .exr.
In Daz Studio, HDRI images are an essential technique for simplifying scene setup during rendering by eliminating the need to manually construct backgrounds.
Downloading HDRI Images from Poly Haven
You can download HDRI images from Poly Haven. Many of these images are published under a CC0 license, allowing you to freely use them in your renderings.
For this tutorial, we’ll use this specific HDRI file:
Studio Small 09
Configuring HDRI in Daz Studio
To set up an HDRI in Daz Studio, follow these steps:
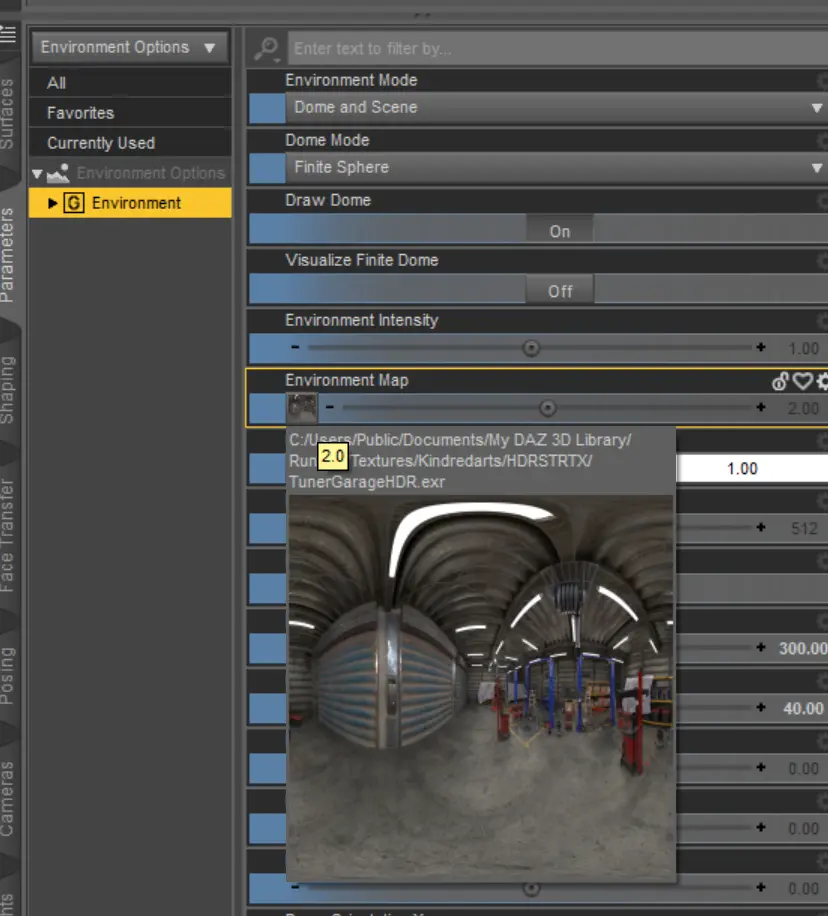
Access Environment Settings:
Navigate to Parameters > Environment > Environment Map. This menu appears after adding a camera or setting up lighting, allowing you to edit the Environment Options.Adjust Render Settings:
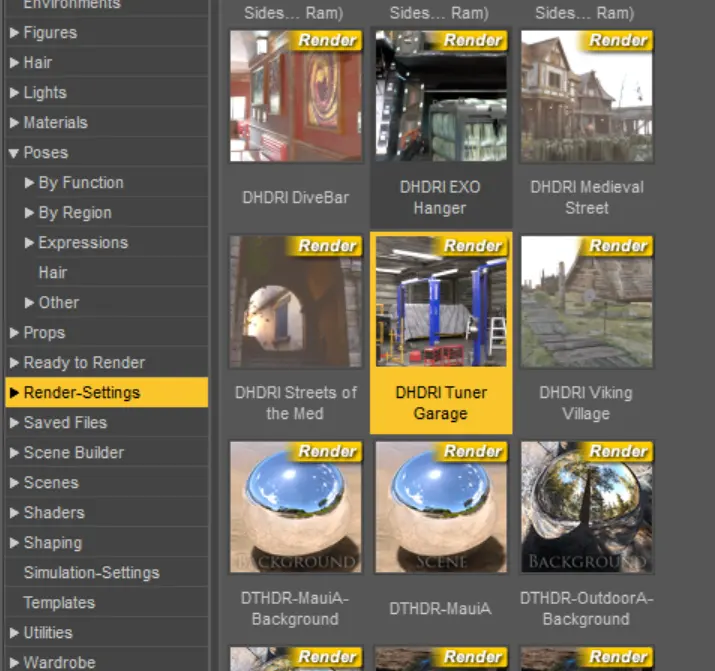
The simplest method is to configure the HDRI through Render Settings. If you choose not to use this menu, ensure the following minimum configurations:- Enable Draw Dome.
- Set Dome Mode to Finite Sphere.

Load the HDRI File:
In the leftmost image input field, load an.hdror.exrfile. Select the downloaded HDRI file from Poly Haven to apply it.
Fine-Tuning the HDRI
Since Poly Haven’s HDRI images are 360-degree panoramas, their default appearance may not always align with your scene. Use these settings to refine the result:
- Dome Rotation: Adjust the rotation of the HDRI image to achieve the desired backdrop orientation.
- Dome Radius & Dome Scale Multiplier: Modify these parameters to fit the HDRI to your scene's scale.
- Brightness and Lighting: As HDRI images often include their own light sources, you may need to fine-tune the intensity of other lights in your scene.
After these adjustments, finalize your character and other scene elements. You’re done! Great job.
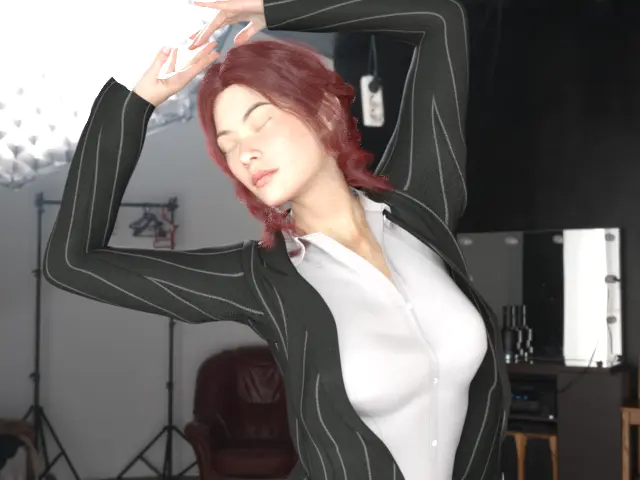
Example Render
